

Inky Darkness
Yield: 3 Cards
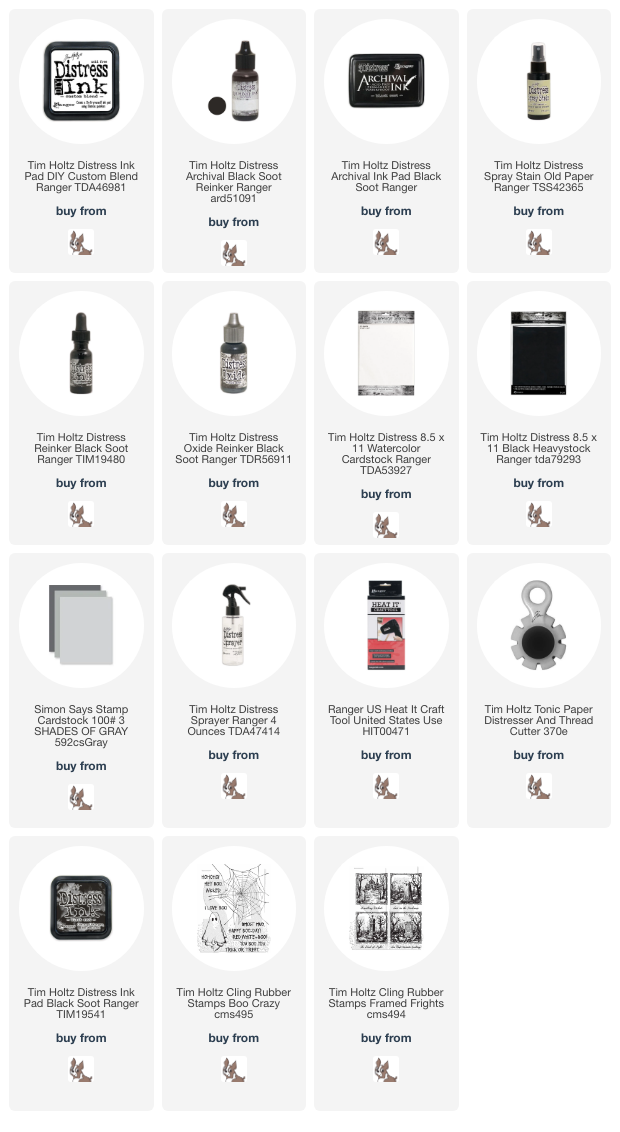
Wet Ingredients:
Ink – Archival Black Soot; Distress
Black Soot
Re-inker – Archival Black Soot;
Distress Black Soot; Distress Oxide Black Soot
Spray Stain –Distress Old Paper
Dry Ingredients:
Card Stock – Black Heavy Stock;
Distress Watercolour; SSS Grays
Tools/Equipment:
Other – Heat Tool, Media Mat, Distress
Sprayer, Stamp Platform
Stamps – Framed


I marked the archival ink corner with Mixative ( it will stick to the plastic)


lots and lots of water, then let air dry, this took patience


I also added an arrow to the back, showing which corner has archival ink


Wow. Thanks for the tutorial. Great effect. Can’t wait to get my stamps and try this!
ReplyDeleteAt first I was confused as to the big arrow in the ink pad. But once I saw the effect, it was an ah-ha moment. I get it, I think, anyway. Makes for some creepy, wicked, into the darness effect...Love them...
ReplyDeleteThat inkpad is genius! Such a cool effect. Great makes!
ReplyDeletePhew! I think I got it! And, yes, genius! The idea is the archival ink, being in the one corner of the ink pad reaches in toward the center of the stamp (the focal image) as one inks around the stamp and then that portion of the image (being archival ink) will not bleed out when wet! Love it and thanks so much! I just loved your cards and have these awesome stamps!
ReplyDeleteexactly correct -vicki
Delete