

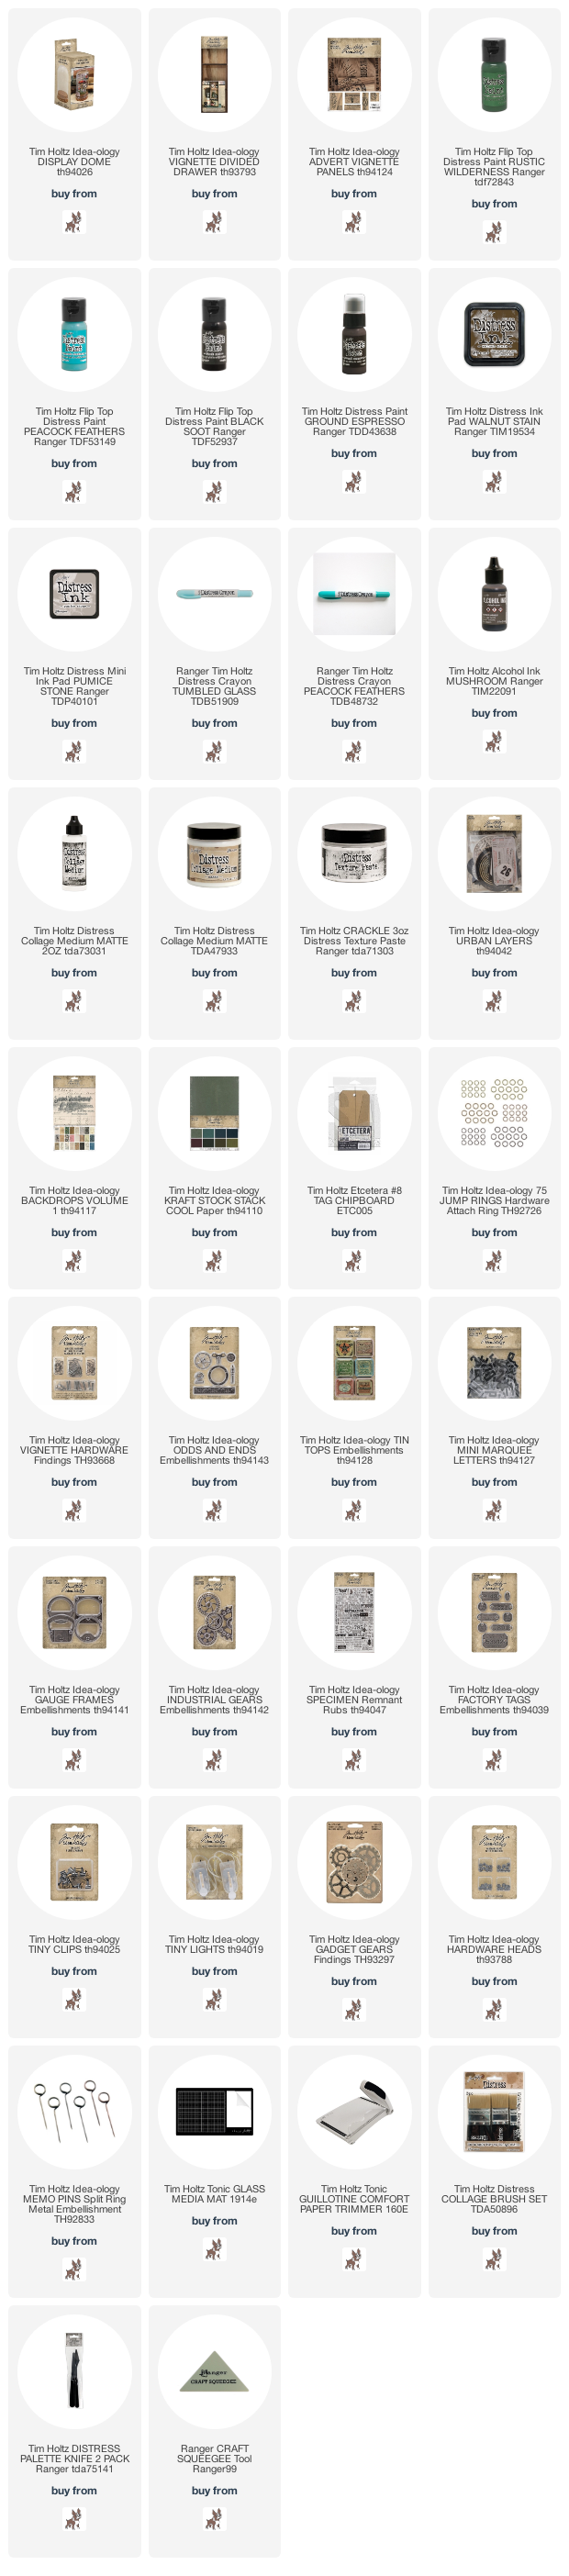
Radio Kit (Ideology 2021)
Wet Ingredients:
Ink – Alcohol Mushroom; Distress Pumice
Stone, Walnut Stain
Crayons – Distress Peacock Feathers,
Tumbled Glass
Other – Collage Medium (matte); Texture
Paste (crackle); Gloss Spray Paint; Matte Black Spray Paint
Paint – Distress Black Soot, Ground
Espresso, Peacock Feathers, Rustic Wilderness
Dry Ingredients:
Tags –Etcetera Tags (just the reinforcers)
Foundations –Display Dome; Vignette
Divided Drawer, Vignette Panels (adverts)
Paper – Backdrops (vol 1); Glassine
(kraft), Kraft Stock (cool), Layers (urban)
Hardware – Factory Tags, Gadget
Gears, Gauge Frames, Hardware Heads, Industrial Gears, Jump Rings, Memo Pins, Mini
Marquee, Odds & Ends, Tin Tops, Tiny Clips, Vignette Hardware
Other – Remnant Rubs (specimen),
Tiny Lights, Wooden Spools
Ribbon – Brass Floral Wire, White
Thread
Tools/Equipment:
Other – Collage Brushers, Guillotine
Cutter, Media Mat, Palette Knife, Sandpaper, Squeegee, Steel Wool, Sewing Machine,
Utility Knife
I had the idea of nesting a display dome inside the divide drawer vignette tray for a while now. I knew I could slice the wood across the back at the shelf height (you can see the cut outs where the dividers slide in and out) and cut though the glued seems with a utility knife, it took a few scores to break the seal, but the panel came out easily.


The colour of the project was completely inspired by the colour of the tin top, it took a hint of rustic wilderness mixed with peacock feathers to get a match. The finish is created by applying a lot of layers (a crazy amount to some but I love this process)
The base wash of the paint colour mix, thinned enough to keep the wood grain visible brushed over all the vignette pieces
o base wash of the paint colour mix, thinned enough to keep the wood grain visible brushed over all the vignette pieces
o
strips
of the Kraft Stock (cool) we cut to fit the exterior panels and randomly sanded
o
this
paper is torn along the narrow edges and corners and attached with matte
collage medium
o
the
whole thing gets a coating of matts collage medium
o
the
giant numerals from urban layers are added to one side of the vignette drawer
(582) and lightly sanded to expose paper edges
o
crackle
texture place is applied using a palette knife, heavier in the corners and on
the front panel
o
once
dry the crackle paste is painted with black soot, working it into the cracks,
once dry this is buffed with a little steel wool to pull back some highlights
of white
o
dry
brush everything with hits of peacock feathers
o
dry
brush everything with hits of black soot
o
buff
everything with steel wool (again)
o
this
dry brush of blue and buff and black and buff goes on repeated for a while over
(and over) different sections until it was ‘just right’
o
sprayed
with a gloss acrylic varnish
o
buffed
a little with steel wool to remove some shiny spot
o
this
inside of the box is lined with a page from the new backdrops using matte
collage medium I used the little squeegee to push into the inside corners of the
box
o
this
was coated in a layer of matte collage medium to seal it
o tapped a very watered-down layer of ground espresso to exterior using my fingers to create splotches on the exterior and to puddle it in the interior corners


I coated (almost) all the ideology metal pieces with a matte black spray paint to start. I also spray painted the tiny spools, cord, and battery compartment of the tiny lights, as well as the etcetera tag reinforcers and plastic game pieces. The metal pieces were all scrubbed with steel wool and used the same dilute ground espresso paint to create a tarnished layer (this glaze is used on almost everything you see), and dabbed some mushroom alcohol ink to finish.
The tiny
light housing is two pieces of kraft glassine paper (one of my discontinued favourites
– the stash is dwindling) that have been stitched together and then crumpled to
break that pristine waxy finish. Mini
marquee letter are lightly sanded and attached to the glassine sleeve using matte
medium and some tiny clips along with some torn pieces of ephemera.
The gears and token from the odds & ends were glued to memo pins for easy attaching to the cork base of the dome (this is a trick I leaned from the amazing Paula Cheney). The vintage radio tube is from a jar of radio tubes that I have collected.


The glass
dome was dabbed with mushroom alcohol ink and remnant rubs were added front and
back. I learned a trick during a class
with Tim at Creativation years ago; when you adhere remnant rubs onto glass, if you
take a mini pumice stone distress ink pad and rub it over the rub the ghosting/halo
around the remnant rub becomes almost invisible (I think he credits this trick
to Paula as well–she is amazing; I was extremely distracted by the then new
distress oxide ink pads so some of that class is a blur).


Inspiration
sometimes comes from often random coincidences. When I was compiling all the
pieces I was considering putting together, I had laid the gauge frame on the tin
top… I had to look twice, it was just too good that they lined up, it was meant
to be.
The mini marquee is just the right size to fit the gauge frame, these were glued in along the edges after gluing the gauge frame to the tin top (I love that you can still see the rays in the graphic thought the numbers). The bases of the game pieces were snipped just enough to fit them inside the reinforcers, these are in turn decorated with several hardware heads.

Urban layers were used to create the swinging/hanging signage using hooks from the vignette hardware and a couple of jump rings.


The little wooden spools are the pegs for the radio dome tube. Special thanks to Dr. Holtz working tirelessly in the ideology O.R. getting this ready for the YouTube live.


WoW Vicki! This is Mind Blowing! Thnx for taking us through your journey of this amazing Radio Kit. xxx
ReplyDeleteomg vicky, this is stunning ❣️ and such an amazing piece of art in all its details 😍 thanks so much for your detailed post about it and many greetings from germany 🙌 xxx
ReplyDeleteso so so good!
ReplyDeleteAlison x
I have never know you to EVER write instructions for your projects but I am sure glad you did with this one because it is AMAZING. This really is one of the most amazing projects I've seen in years. Thank you for sharing your creativity/genius!
ReplyDeleteThis is brilliant!
ReplyDeleteThis is a fabulous piece of art! The tutorial is such a great help — there would have been spots where I would have been lost without it. You demonstrated several ideas/tips which were completely new to me!
ReplyDeleteI am new to your site, but I will be back to look through your past creations. Thank you so much for sharing!
Love this tutorial but I have a quick question. How did you make the reinforcers - do you need a some kind of a punch and, if so, was it on card or cork?
ReplyDeleteThanks for sharing this amazing tutorial.
George