

make your own luck (Ideology 2021)
Wet Ingredients:
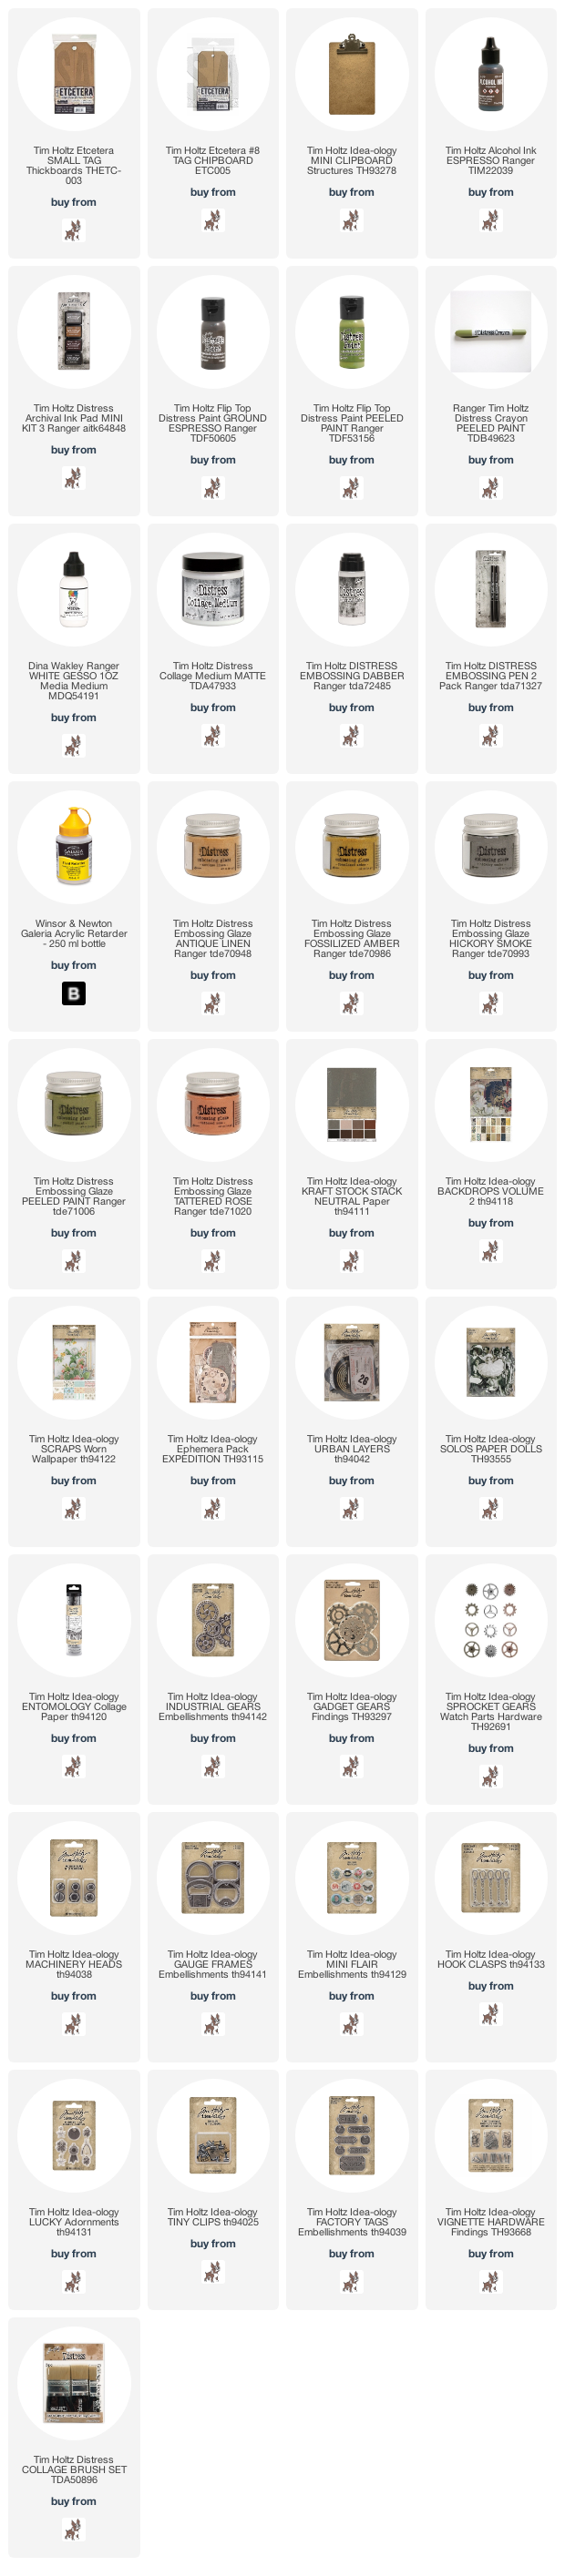
Ink – Alcohol Espresso; Archival
Distress Vintage Photo
Crayons – Distress Pealed Paint
Other – Collage Medium (matte); Embossing
Dabber, Embossing Pen (brush), Fluid Retarder, Gesso (white)
Paint – Distress Ground Espresso,
Pealed Paint
Dry Ingredients:
Tags –Etcetera Tags Small & #8
Foundations –Mini Clipboard
Paper – Backdrops (vol 2); Collage
Tissue (entomology), Ephemera
(expedition, and others), Kraft Stock (neutral), Layers (urban), Paper Dolls (singles), Scraps Worn
Wallpaper
Embossing Glaze – Distress Antique Linen, Fossilized Amber,
Hickory Smoke, Tattered Rose, Peeled Paint
Hardware – Adornments (lucky), Factory Tags, Gadget Gears,
Gauge Frames, Hook Clasps, Industrial Gears, Machinery Heads, Mini Flair,
Sprocket Gears, Tiny Clips, Vignette Hardware
Other – Remnant Rubs (specimen),
Tiny Lights, Wooden Spools
Ribbon – Black Floral Wire, Eclectic
Elements Thread
Tools/Equipment:
Other – Collage Brushers, Craft
Paint Brush, Heat Tool, Media Mat, Palette (metal 6 well), Sandpaper, Steel
Wool, Utility Knife
This whole
project is glazed and glazed – most of the project is coated with Distress
Embossing Glaze (glaze type 1), and most of this has been glazed over again
with Distress Paint combined with a fluid retarder (painted glaze, glaze type 2). I will be repeating the word “glaze” a lot, so
I hope this doesn't get confusing.

The #8 Etcetera Tag was covered with a piece of the new
kraft stock in a neutral grey, with pieces of entomology collage tissue applied
along what will be the bottom edge and sides. Once dry this was covered completely
with the Distress Embossing Dabber and coated with Hickory Smoke Glaze.


The small etcetera
tag started with one of the backdrops from volume 2 featuring the gear blueprint
and was layered with a small collage of ephemera (I love to give projects the
pointy finger—my absolute favourite piece of ephemera). The whole thing was coated with collage
medium, I always ensured lots of brushy strokes show, it adds texture
and little places for the painted glaze (details on how this is made below) to catch
and pool. The edges of everything paper here are scuffed with sandpaper and inked with
Vintage Photo Distress Archival.
I would like to let you know that my original intention was to attach an ideology clipboard clip to this base tag directly, with the #8 clipped under it, and it would have revealed this little collage… until the moment I knew I had to use this certain piece of Worn Wallpaper Scraps (one thing changed everything), so the clip became a clipboard.

The base of
the clipboard was covered with Worn Wallpaper Scraps, this layer was covered
with another backdrop (vol. 2) which was torn on the edge to expose my
favourite little bit of the Worn Wallpaper (I only wish there were more of these
text edges in the package). The whole
thing was coated with collage medium (lots of brushstrokes showing) and once
dry, the surface was dabbed with some of the paint glaze, in several layers. The ‘ring’ stains were created using Espresso
Alcohol Ink, running the ink nozzle along the lid and using the lid as a stamp
to create the circles; a couple of these were misted with water while they were
still wet to remove the exactness or sameness of the circles.

In trying
to maintain a limited and dingy colour palette, the ephemera and mini flair pieces
were glazed in a few alternating layers of Antique Linen and Fossilized Amber Embossing
Glaze, until they closely resembled the tones already layered on the clipboard,
made matte with a little more steel wool.

Machinery Heads,
Sprocket Gears and Gadget Gears were combined to mimic the shapes found in the new
and crazy amazingly detailed levels of the Industrial Gears.


Faux
Galvanized Metal
I first did
this technique for Creativation 2020, when the Embossing Glazes were shiny
brand new! (see photos above)
- 1. Ideology pieces get a rough coat of white
gesso—randomly thick and thin is all good.
- 2. Gesso is haphazardly removed using
steel wool—keep lots of white in crevasses.
- 3. Ideology pieces are coated with
Embossing Dabber, use a paintbrush to get in the nooks and crannies.
- 4. Apply Hickory Smoke Embossing Glaze
and heat set.
- 5. While metal is still hot and heat
tool running keep adding pinches of Embossing Glaze to build up darker areas (this was a little tricky with the Mini Hardware Pulls* &Mini Pulley
Wheels* and Hook Clasp, and easy-peasy with the Vintage Clip* and with the gears
and gauge frames
- 6. Let cool. They stay hot for longer
than you might think.
*pictured as part of the Creativation sample (photos above), not in this project.
The metal Ideology
pieces are glazed using the Faux Galvanized Metal technique (apart from the
Lucky-Adornment and Tiny Clip) and matted with some steel wool.


The Factory
Tag digit “7” was filled in with Peel Paint Distress Crayon and tied to the
clipboard clip using floral wire. The clip was dabbed with a drop of Espresso
Alcohol ink on a felt applicator. At the same time, this alcohol ink was dabbed on
the Tiny Clip.

The “Paint
Glaze”
Mix 1 drop
of Ground Espresso Distress paint with 5 drops of fluid retarder—make multiple
batches as needed. I don’t recommend doubling up the ratios.


The
addition of fluid retarder instead of just diluting with water causes several crafty
things to happen:
- 1. The open or working time you have to
layer is well over an hour.
- 2. While it is still wet the pigments in
the paint settle and you can see how and where they are pooling.
- 3. You can keep adding layers to darken
the colour without visible paint rings or water lines.
- 4. There is lots of time to wipe away anything
you do not like the look of and start again.
- 5. It looks like really old greasy, gunky, grungy goodness

Once the
all the Ideaolgy pieces we glued to the #8 tag; a little more Paint Glaze was
dabbed around the edges of the pieces to make them appear more homogenous with
the tag.

The biggest drawback
is that it will take overnight to fully cure what little paint is actually there
and be dry enough to handle. Once dry if you sand with sandpaper or rub with
steel wool, where the paint is very thin you get great chipping and flaking (best
seen on the Gauge Frame)

This Paper
Doll from the Solos package was originally set aside for another project idea I
had but, when I saw that arm and that hand were in the perfect position to 'pull
the stings in making his own luck'… he was quickly reassigned. Using the Distress Embossing Pen with the
felt tip he was coloured using Distress Embossing Glaze in sections; the white
portions of his suit were glazed first using Peeled Paint, his face, and hands next
using Tattered Rose, and lastly, the rest of him was glazed with Hickory
Smoke. The slight bleed between the two
lighter colours made me incredibly happy.
With a little steel wool, he was made to look matte. The Lucky-Adornment was Dabbed with a little Peeled
Paint Distress paint and some Espresso Alcohol ink to finish.


So so so so so so cool!
ReplyDeleteAlison x
A fabulous tag Vicki and great tutorial, thank you! x
ReplyDeleteSo fabulous. My favorite make! I pinned of course.
ReplyDeletethis is awesome - so many tips on how you create the metal pieces. Love the use of that wallpaper strip on the right side. Just perfection.
ReplyDelete