carved wood slice
Yield: 1 Card
Wet Ingredients:
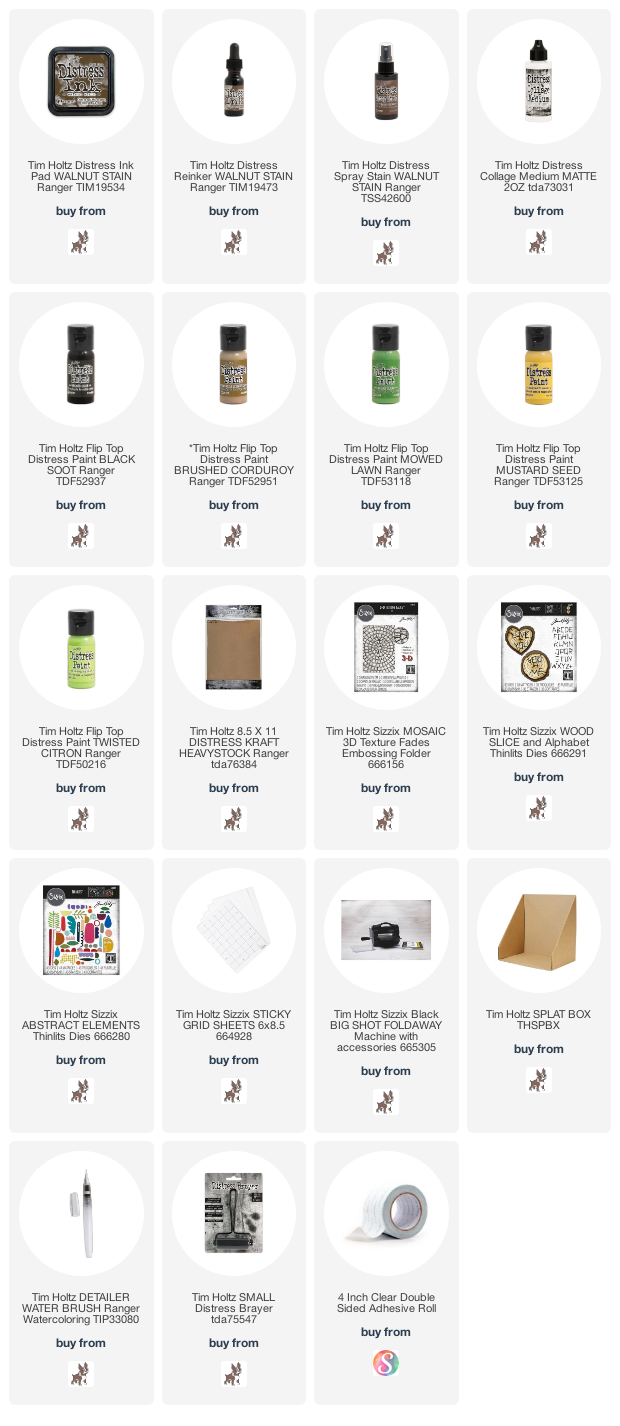
Ink –Distress Walnut Stain
Other – Collage Medium (matte)
Paint – Distress Black Soot,
Brushed Corduroy, Mowed Lawn, Mustard Seed, Twisted Citron
Re-inker – Distress Walnut Stain
Spray Stain –Distress Walnut Stain
Dry Ingredients:
Card Stock – Kraft Heavy Stock
Tools/Equipment:
Other – Heat Tool, Media Mat,
Sandpaper (80), Splat Box, Water Brush
Dies – Abstract Elements, Wood
Slice
Embossing Folders – 3D Mosaic
I cut one sheet into four 4 1/4 x 4 1/4 pieces and used the whole sheet.
I think of the dies as outer, middle an inner. Putting the middle die in the outer one
to ensure my letters were centered enough (make sure the letters are backwards
each of these letter also looks the right way).
Remove the middle die and run through the foldaway.
Cut the painted piece as well as two more of the (plain) kraft heavy stock pieces.
Save the fallout pieces from your "O's" you will need them
I removed all the letters but the "O" I kept this for registration, but it probably
wasn't necessary. Added the middle die back, placed the painted die cut piece back into
the outer die, ran it though thr foldaway. Creating the outer wood slice ring.
Removed the outer die and added the inner one to the middle, place the painted piece in the
middle die and taped the middle of the painted "O" in place (this way it get the texture too).
This creates the middle wood slice ring'
Cut the last square of kraft heavy stock with the outer die to create the base layer
of the wood slice and adhere the three kraft die cut layers together.
I worked from the outer wood slice layers in, and sanded the painted surface to reveal
some of the kraft underneath


Love that it really looks wood carved. The dies are truly amazing these days, as to what or how they can cut and then when put into very capable hands...truly amazing.
ReplyDeleteAppreeciate your blog post
ReplyDelete