

Halloween Placards
Yield: 1 small Etcetera tag
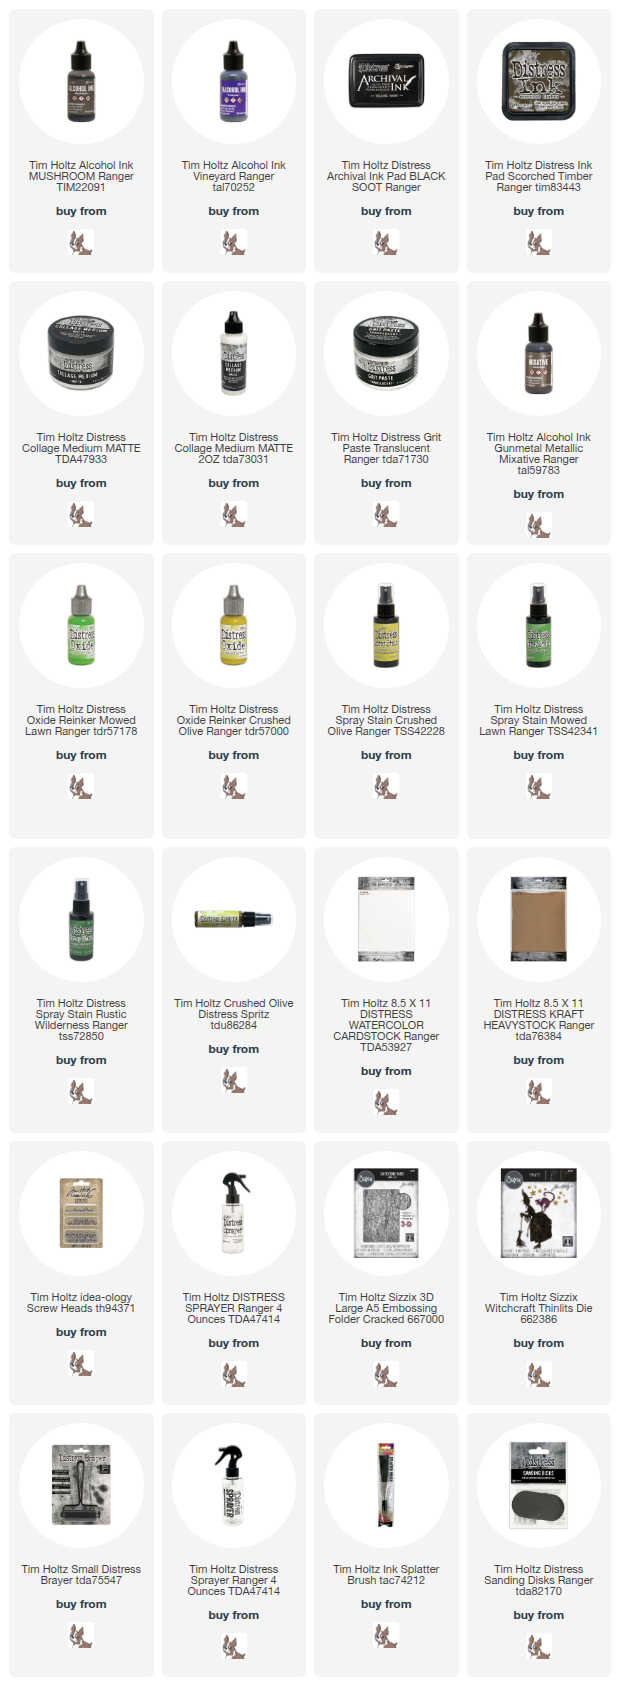
Wet Ingredients:
Ink – Alcohol Mushroom, Vineyard; Archival Black Soot; Distress Scorched Timber
Other – Collage Medium (matte); Grit Paste (translucent); Mixative Gunmetal
Paint – Silver Acrylic (any kind will do)
Spritz – Distress Crushed Olive
Re-inker – Distress Oxide Crushed Olive, Mowed Lawn
Spray Stain –Distress Crushed Olive, Mowed Lawn, Rustic Wilderness
Dry Ingredients:
Tag/Structure – Small Etcetera Tag
Card Stock – Kraft Heavy Stock, Distress Watercolour Card Stock
Hardware – Screw Heads
Other – Chipboard
Ribbon – Hemp Rope
Tools/Equipment:
Other – Brayer (small), Media Mat, Distress Spray Bottle, Splatter Brush, Sanding Disks
Dies – Bigz Cameo Frame, Witchcraft
Embossing Folders – A5 Cracked


The chipboard cracked, this won't matter in the end.


The layers of paper need to be sealed, and sealed very well.
We are going for waterproof! I run a bead of collage medium along
the edge and work it in with a paintbrush. Simple shapes are easier
to seal (those broom bristles were very challenging).


The little nubbins that get left by the dies will show in the final piece,
now is the time to remove them (if there are any).


I have a variety of silver paints in my paint box, all of the paints pictured above,
have been used for this technique, and they work great.
Dollar store paints don't have enough metallic pigment in them,
and Distress Paint is too fluid for this next layer.


You are looking for the translucent grit paste to look like melted sugar.
Those little sugary clusters are going to hold on to the pigments.
You may speed up drying here with a heat tool, but I let it air-dry.


Waterproofing success!


I picked these colours based on the background colours, I am using.
This technique works best if you use 1 or 2 colours from a similar colour family.


Add more water than you think, all that waterproofing is about to payoff.
This needs to sit and air-dry, there is no short cut here, just time
DO NOT: use a heat tool to dry, do not touch or try to control the outcome.
It is worth the wait, now let's make the background.


This is the reward for your patience and letting it all
air-dry as slowly as nature required. Remember those cracks
in the chipboard...me neither.


Same process, different colour combinations.


Love your work! Thank you so much for taking the time to document and share your process. I have learned so much from you🧙🏼
ReplyDeleteThose are all "wicked Good"....Happy Halloweeeeeeeennnn!!!
ReplyDeleteThank you share the excellent work, i learn more from you!
ReplyDelete