

9: wicked hipster
Wet Ingredients:
Ink – Archival Black Soot, Vintage
Photo; Distress Old Paper, Pumice Stone, Twisted Citron, Villainous Position, Vintage
Photo, Walnut Stain
Spray – Distress Mica Stain
Bubbling Cauldron, Crooked Broomstick
Dry Ingredients:
Foundation – #8 Etcetera Tag
Card Stock – Mixed Media Heavy
Stock, Kraft Stock (Blackout)
Hardware – Layers (urban), Loop Pin
Other – Mica
Tools/Equipment:
Adhesive – Scor-Tape (1/8” and ½”),
Media Tape (blank)
Dies – Layered Tags
Other – Craft Scraper, Design Ruler,
Guillotine Cutter, Media Mat, Stamp Platform
Stamps/Stencils – Wicked Hipster

REMEMBER ME?...


this is going to involve some craft maths...
we need the image to be as wide as the substrate. Etcetera tags are 3 1/8" wide but
I don't want to count in 1/8" bits, so to keep it easy I am pretending that it is only 3".

using the design ruler I can easily see where the 3" for the image needs to start and stop.
it will take 12 - 1/4"trips to equal 3" but I want a little insurance so I will be cutting 13.

top account for the 13th strip i will add 1/8" to each side, by trimming 1/4" off the left side
I will be starting my first strip at 1 5/8" from my center point (this is the last time of the 1/8 thinking)

using the grid on the guillotine cutter you will get perfect 1/4" strips.
If you read your lines fat or lean it won't matter as long you do it consistently.
I number one set of strips and lettered the other.


i really like the media tape for this (in my 2014 post i used washi and it works just fine)
the wide roll just covers a lot of territory quickly and makes less seams.
use the scraper to burnish the tape to the paper, even if you think your good, do it once more.


back in 2014 I had made another tag like this, the steps up to this point are very similar
October 2014

this assembly is much, much easier than my previous method
now...i only use tape on the sides and a band top and bottom that will hide under the folds.
lay the accordion folded paper on the tag and place the outer edges firmly into the tape.


using a pointed tool adjust the peaks & valleys until they are spaced evenly,
only when you are ready press along the tape strip.


This post contains affiliate
links below. If you click on one of them and make a purchase,
I’ll receive a commission.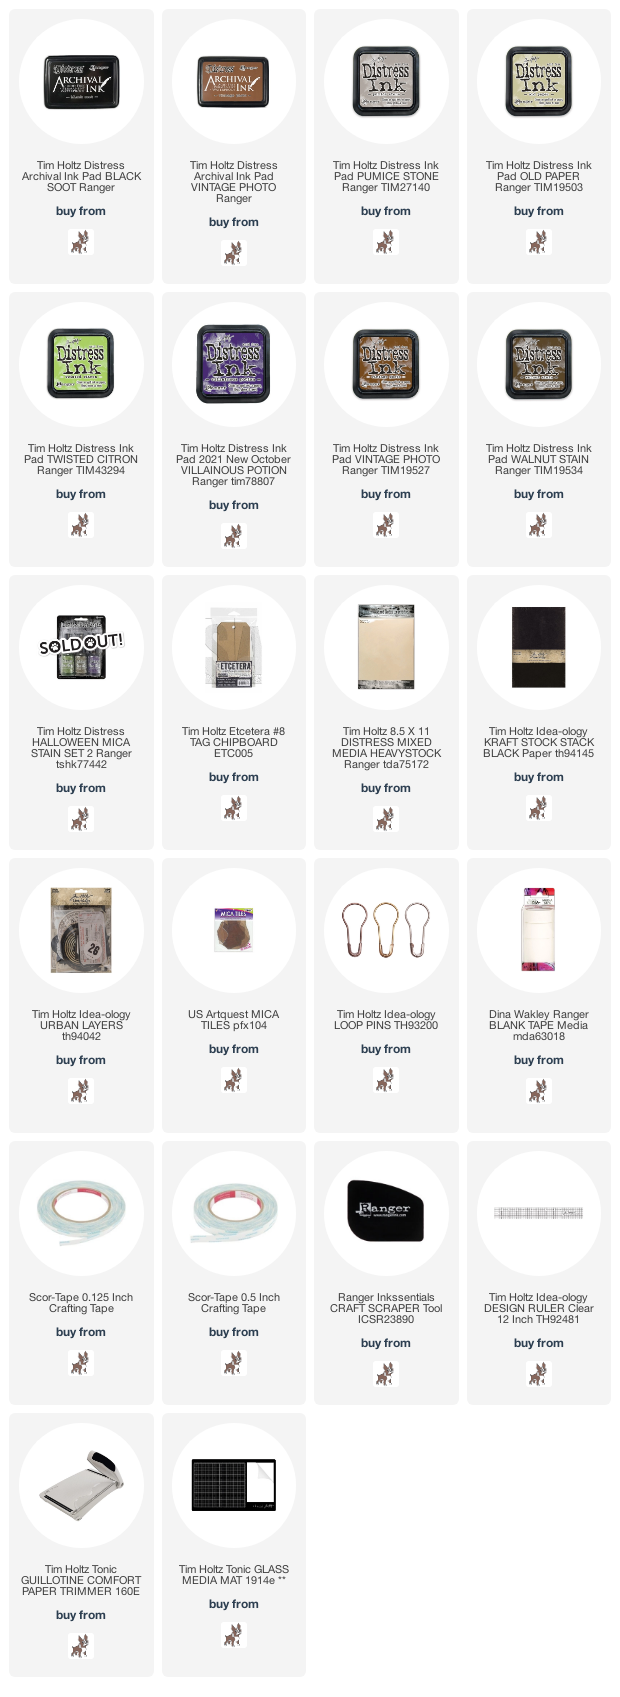


Jeepers - you've more patience than I have! Amazing effect... very cool.
ReplyDeleteAlison x
Ok, this is my favorite!! I must try this! You're such an inspiration girlie!
ReplyDeleteOk, this is my favorite!! I must try this! You're such an inspiration girlie!
ReplyDeleteI have been waaaaitiiiinnnng on this one...this is a deifinte must try...love it!!!
ReplyDeleteI love this so much I just had to try it out Vicki, nowhere as good as yours but I am happy enough with the result, thanks so much for sharing the details! x
ReplyDeleteThis one is a stunner and the mica is perfection
ReplyDeletewhaou ! love it !!!
ReplyDeletewell you and I both know this is pure genius...just saying.
ReplyDeleteThis is incredible, my favourite!
ReplyDeleteThis is incredible, my favourite!
ReplyDelete